Add Single Item
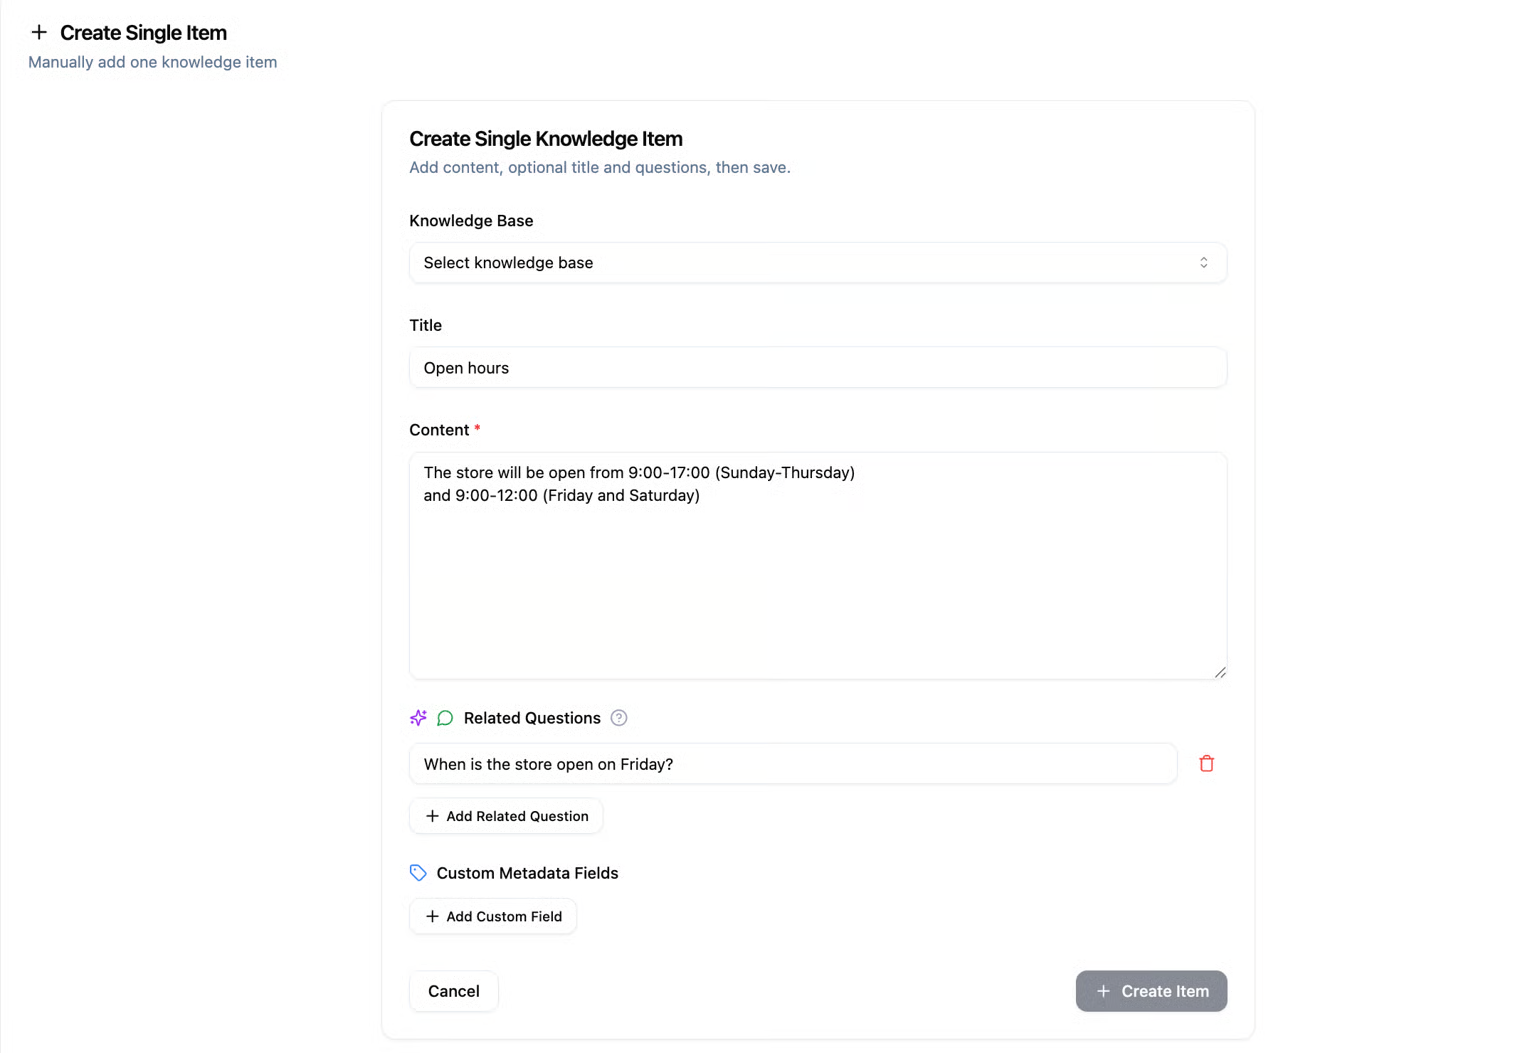
If you chose the Single Item option, you’ll need to fill in several important fields to create a new knowledge item:
Knowledge Base – Select the knowledge base where you want to save the item. It’s important to make sure the information goes into the right place, especially if you have multiple knowledge bases in the system (for example: one for technical knowledge and another for marketing knowledge).
Title – A short title that summarizes the topic of the knowledge item. The title helps you (and other users) quickly identify the content without having to read it all. For example: “Product Return Policy.”
Content – This is where you enter the full content of the knowledge item. This is the main information that the system will store. It’s best to write it clearly and precisely, for example: a paragraph explaining a process, a detailed answer to a common question, or a specific guideline.
Related Questions – In this field, you can add questions that your AI agent will use to match and retrieve the content you wrote.
The goal here is to “teach” the agent how people might phrase their questions about this information.
For example, if your content is about “Product Return Policy,” some suitable questions could be:
- “How can I return a product?”
- “What is your return policy?”
- “How long do I have to return an item?”
The more varied and relevant the questions you provide, the better the agent will understand when to refer to this knowledge item.
Custom Metadata - Within each knowledge item, you can add Custom Metadata – additional information that helps with organization, filtering, and searching.
Custom Metadata consists of two parts:
- Field Name: Think of this as a label or category you define. For example: “Department”, “Language”, “Priority Level”.
- Value: This is the actual information that corresponds to the field name. For example: “Technical Support”, “Hebrew”, “High”.
By using custom metadata fields, your knowledge base becomes much more structured. This makes it easier to perform targeted searches and filter information according to your needs.
After clicking Create Item, the new knowledge item will appear in the Explore Knowledge Base page, inside the knowledge base you linked it to.
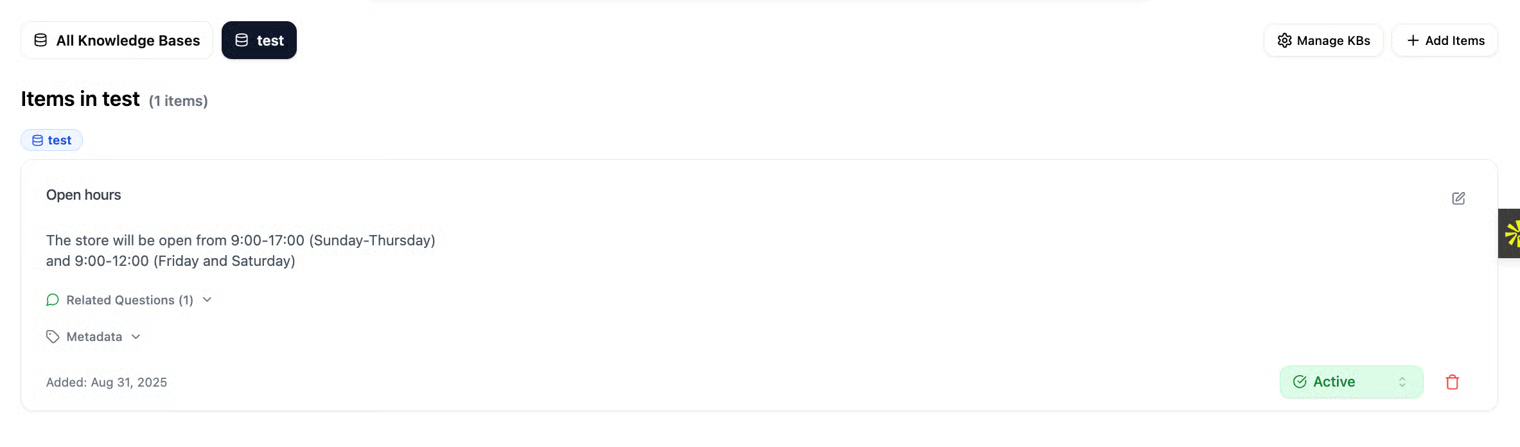
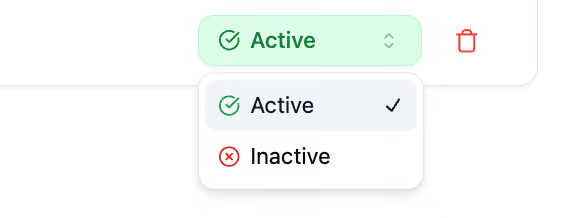
Each knowledge item can be set to Active or Inactive. This allows you to easily control which information your AI agent relies on when searching or responding.
For example, if an item is no longer relevant, you can mark it as Inactive without deleting it, and it will simply be excluded from the agent’s answers.